As promised, I want to share with you the process of creating background papers using Alcohol Inks by Tim Holtz of Ranger Products as interpreted by ME :)
**Disclaimer: I am not an expert in this field, nor am in anyway associated with Ranger company or Tim Holtz. Yet. ;)
Many of you may have seen these cute little bottles of Alcohol inks hanging in the stamping aisle of your favorite craft store (and mine), and although they are alluring--you might be thinking to yourself, what the heck would I use these for and furthermore, HOW would I use these tools? Myself included. That didn't stop me from buying them. Nope. Never does. I have an addiction to all things art related and I probably won't stop buying new and intriguing products until I go broke..LOL
Anyway, here they are, in all their glory-deep and rich hues of cranberry, eggplant, lettuce, butterscotch, rust, denim, meadow and more. Pearl, Silver, Gold, and Copper are also available a to enrich your hues to an even greater level.
The cost?? About 9.99 for a three pack. Save your 40% coupons from Michael's if you are interested and purchase these and the accessories that go with them as the NEVER go on sale. At least as long as I've been stalking the craft sales, I have yet to see them on sale. So, you might as well use your coupon for any of these items.
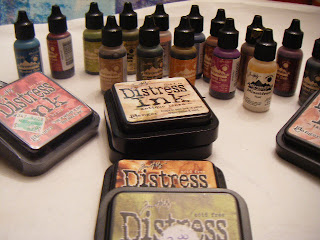 There are a lot of different products available from Ranger, these are just a few of the items that I happen to have. Alcohol inks; distress pads in a variety of colors like Vintage Linen, Aged Photo, Walnut Stain, Peeled Paint, Tattered Rose; Ink Blending Solution, and the felt mixing tool.
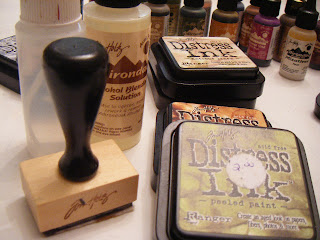
Here's a snapshot of the blending tool and solution. Another handy aid in this process is a small spray bottle of water. Spraying water on these projects create an even more interesting effect on the project, giving depth and blending the inks in unpredictable but wonderful ways.
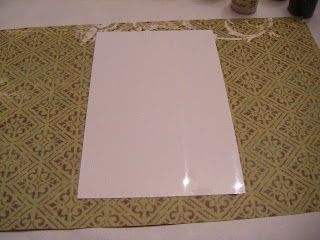
Although you can really use the inks and distress pads on just about any surface that is non-porus (sp?) such as glass and metal, you can also use them on paper. Glossy paper works fantastically. I bought this 12x12 glossy card stock paper for 1.99. Get 2 or 3 sheets and cut the sheets up in to small sections about 4x4 or 4x6 . You will have so much fun, you won't want to stop dreaming up color combinations. I was actually sad when I finished this project. I just wanted to keep going and going and going until everything was blended, pounced and colored the many colors of alcohol inks that I have in my possession!
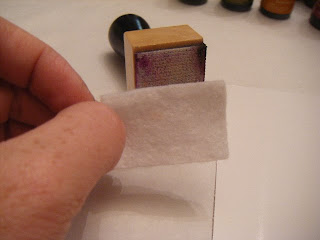
You need to have the felt pieces that attach to this blending tool. The alcohol inks get dropped on to the pad as you begin creating your masterpiece. Now, the felt pads are sold in a package and cut perfectly to fit on this tool; however, I don't see why you couldn't use regular felt cut to size and save yourself a bundle. I just went the easy way out and purchased the precut swatches.
Attach the felt to the velcro on the tool.
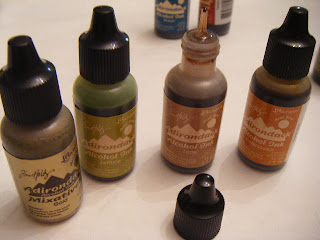
Next, pick out the colors you want to use. 2-3 are usually good then if you like, add an enhancer like gold or pearl to your inks.
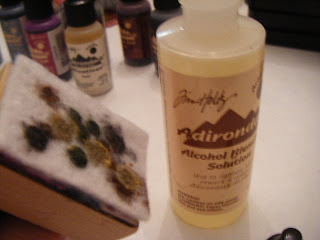
The blending solution goes on last (if you want to use it) . What it does, is to well, blend the inks together both on the pad and on the paper as you 'pounce' the inks on your 'canvas'.
Can you see the 3 blobs as they react and blend the inks together?
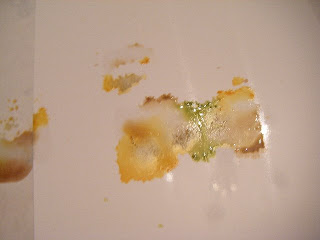
Next--just start pouncing your pretty little heart out. You may look initially achieve a look that is similar to an ink blot presented to you at the Psychiatrist's office. Not that I would know about that...just saying ;)
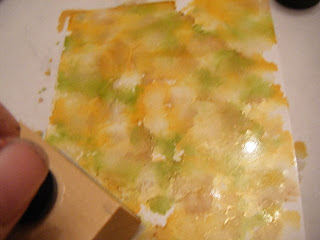
Hopefully you can see how the inks come together so beautifully as you create your background. The gold is peeping out in a variety of areas.
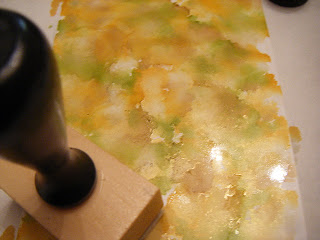
Keep on pouncing until you are satisfied with the outcome. Perhaps you want to keep some white, perhaps you want it totally colored. It's up to you, you are in the drivers seat. Experiment!!
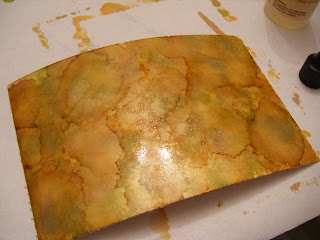
On this sheet, I added the mixitive right on the paper after after my initial pouncing of colors in addition to adding it to the blending tool. The effect you get is an even more beautiful watercolor effect.
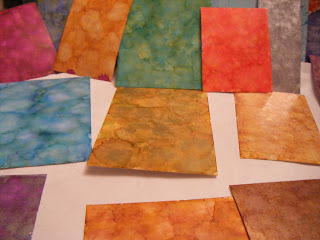
Oh my goodness, I just couldn't help myself. I went to town!! You probably can't see the silver one in back, but anyway, that one turned out to look like weathered metal---soooo cool!
The backgrounds can be used for cards, ATC's, ACEO, in your art project and more!
After the backgrounds are dry (and they do dry quick), you can stamp over them or even emboss over them to create a greater level of depth and interest to the backgrounds.
One warning--the inks stain something fierce! Use gloves. Of course, I didn't use gloves. But I do want to warn you (it's my artistic tutorial responsibility)!
The next time I post on this topic, I will show you how I made my new set of Love Letter magnets using the inks and pads. I hope to also have a few projects completed using the background papers!
Now, get out there and experiment and show me what creations you have come up with using these fabulous and fun products!!


9 comments :
Dont make me go an buy alcohol inks now...
These are really neat, I have had them in my hot little hands so many times, and always put them back.
Great tutorial!
~xx~
Kathy
I loooooooove alcohol inks! Great tutorial!
Great job. If you have dry ink on the pad, add some of the blending solution to it & pounce away.
I often add a few drops of blending solution on the pad right with my inks for a different effect. If your color is too dark or to mottle the surface, try spraying a fine mist of 90% rubbing alcohol over your work. The rubbing alcohol is also good for clean up on many surfaces. I did my own tut last March.
Thanks for this! I've always wondered what to do with those. The backgrounds you made are really neat! I wish I could take a class where I could learn how to use all of the uber-cool stuff that Tim Holtz and Ranger make.
Great tutorial!
gurl- you make that look too easy- i've never tried this sort of thing before- now you have my interest peaked.
LR
Your blog is bursting with creativity! Loved your tutorial ~ the name of and banner for ~ and the MuSic! Great choices! Inspires me just being here! Looking forward to the swap!!!
Blessings, Katie
Just so you know, I've cut out white felt for the blending tool. The felt you buy at the craft stores in squares tends to be a little thinner than the precut squares but I didn't notice a difference in application. Thanks for the tutorial!!!
Awesome lesson. Now I have to dig around for my 40% coupon and head to Michaels. I've always wondered but never knew what to do with that stuff. Love it!!
I Love his inks too!
And your tutorial was fascinating!
Thank you for sharing Lucy.
As always, you inspire me to create!
Post a Comment